前言
人的悲欢总是不同
工具
- IntelliJ IDEA 2019.02
- Spring 5.2.1
创建一个Java项目
这个步骤省略,之前的帖子有讲
导入Jar包
Spring官网
Spring项目Github
Spring的仓库
emmm感觉Spring啥都有…
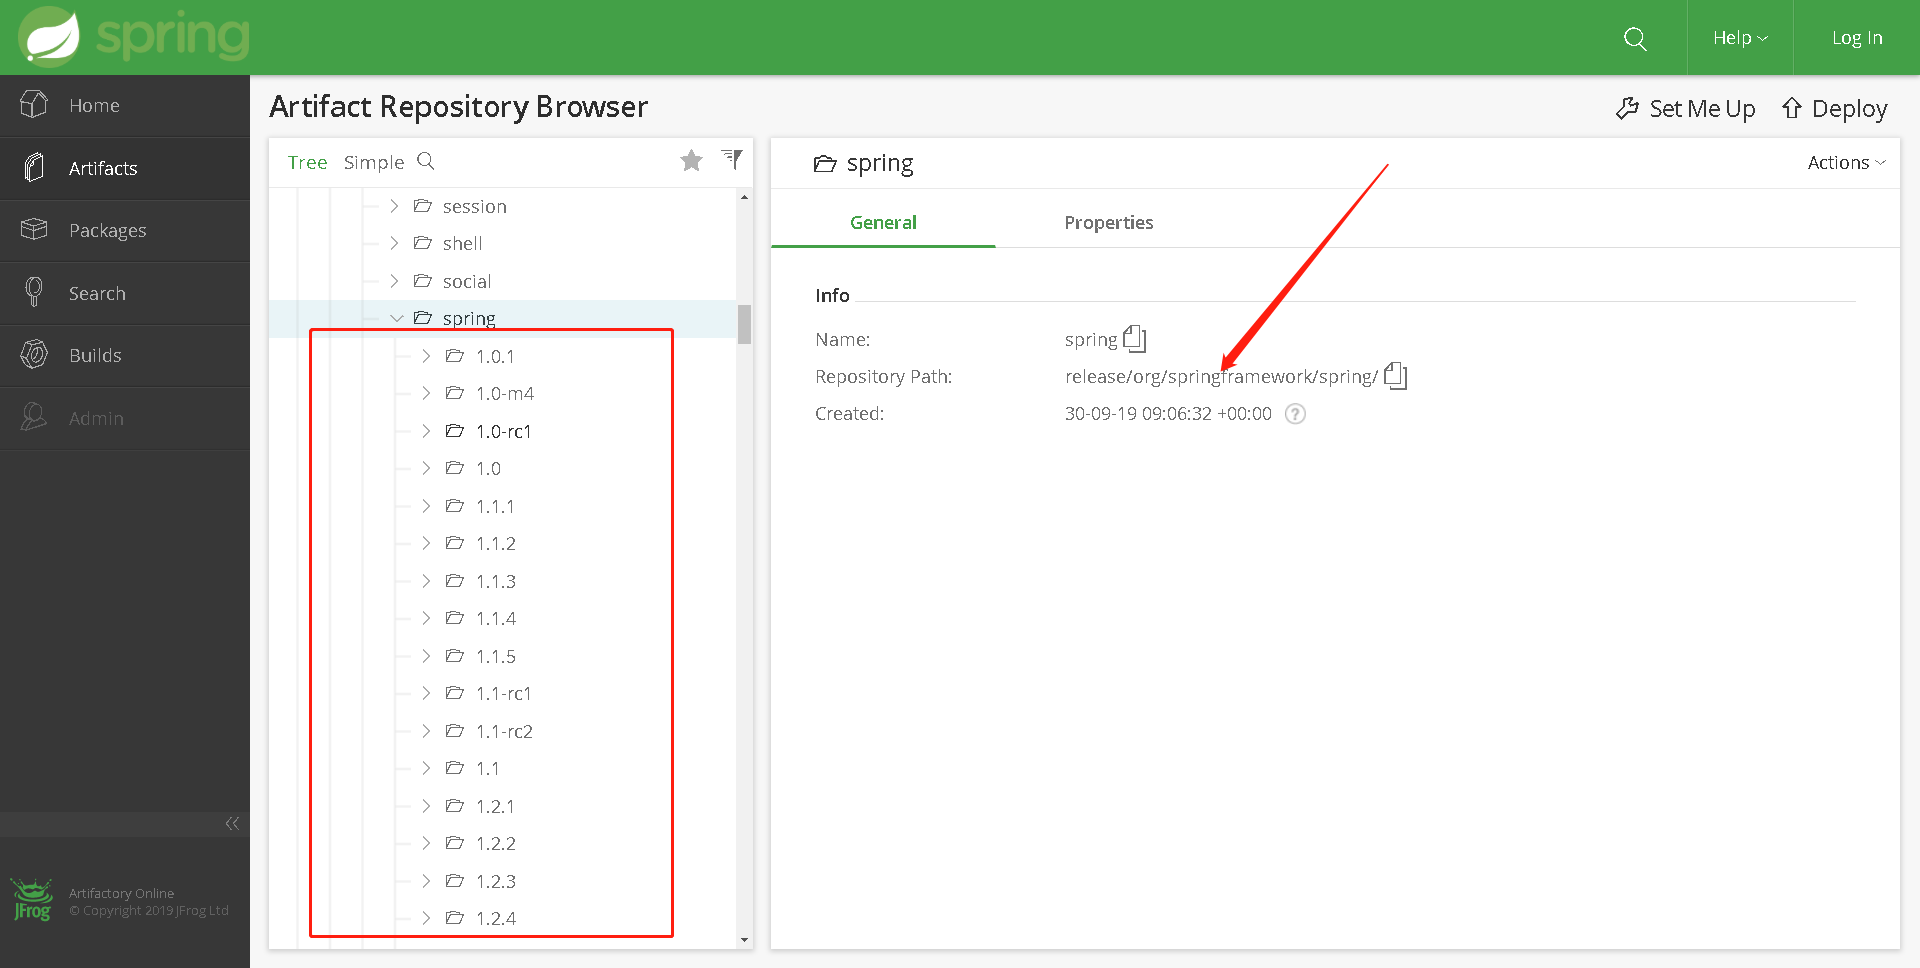
Spring的包就在上面的Spring的仓库里面找
在 release/org/springframework/spring/ 下就可以找到各个版本的Spring 如图所示
![]()
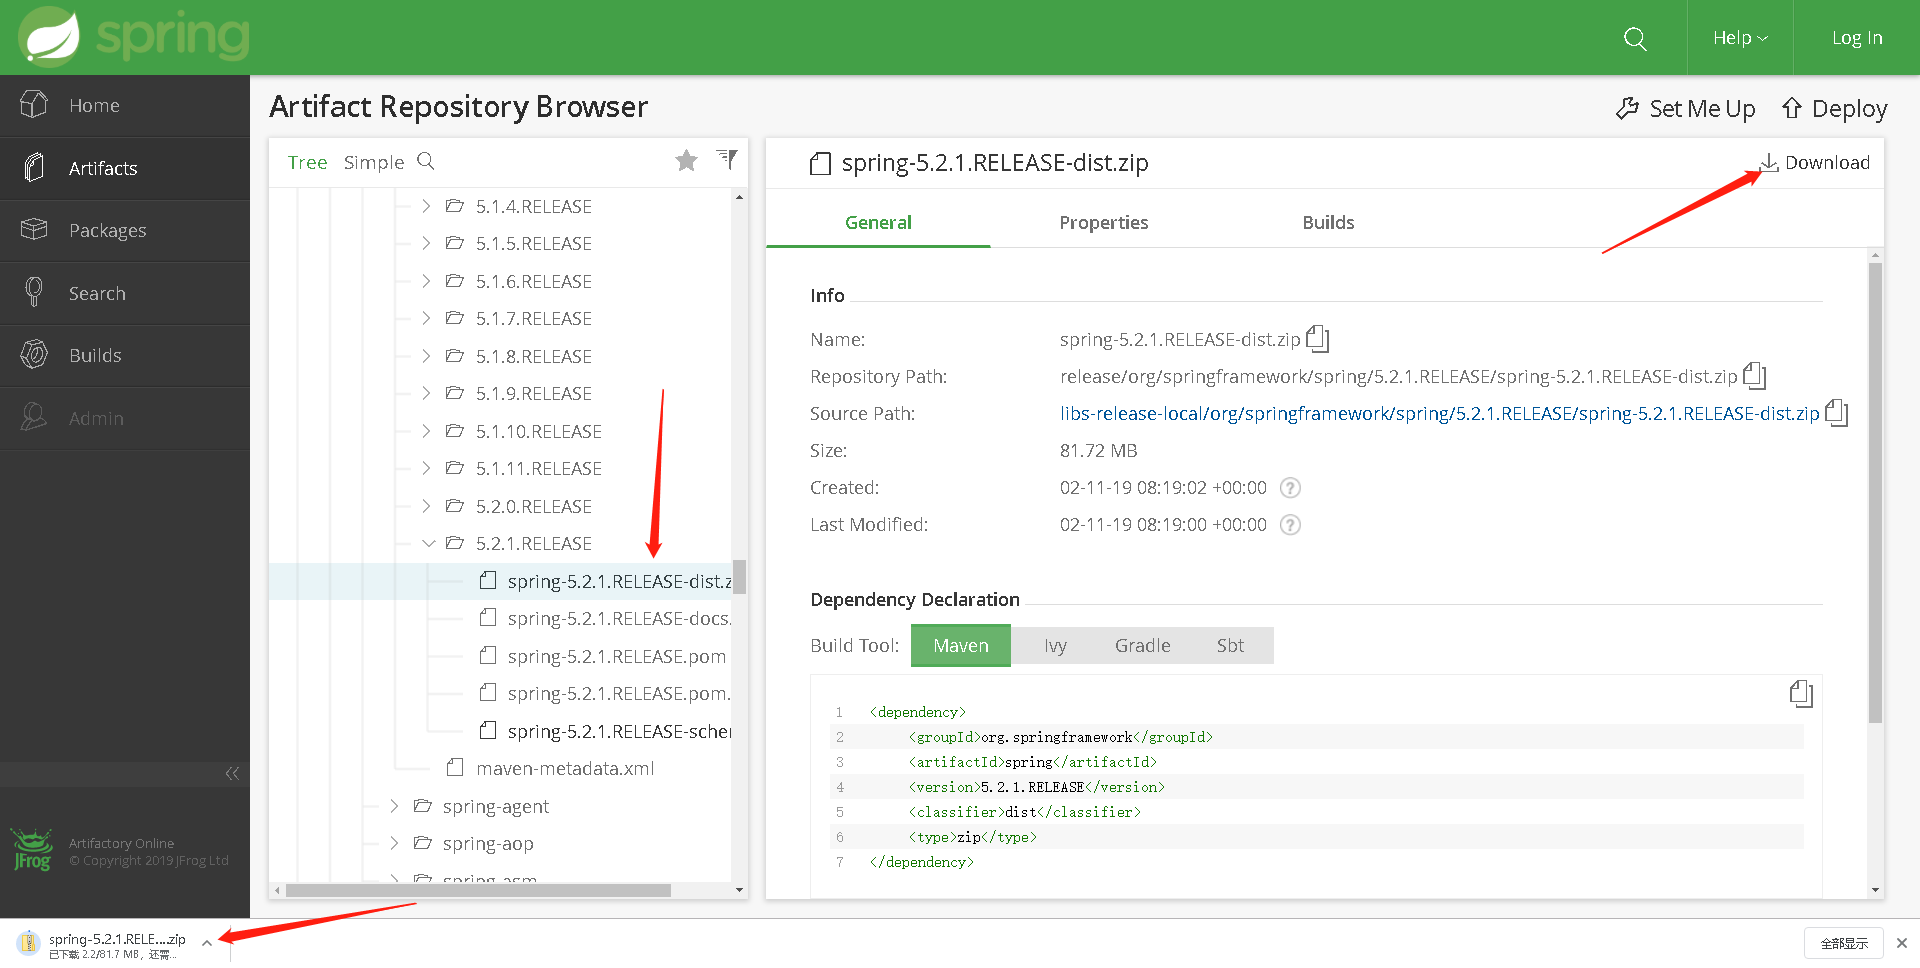
下拉找到最新的5.2.1版本,右上角点击Download下载按钮就可以下载了
记得要下载dist的压缩包,里面才是jar包
![]()
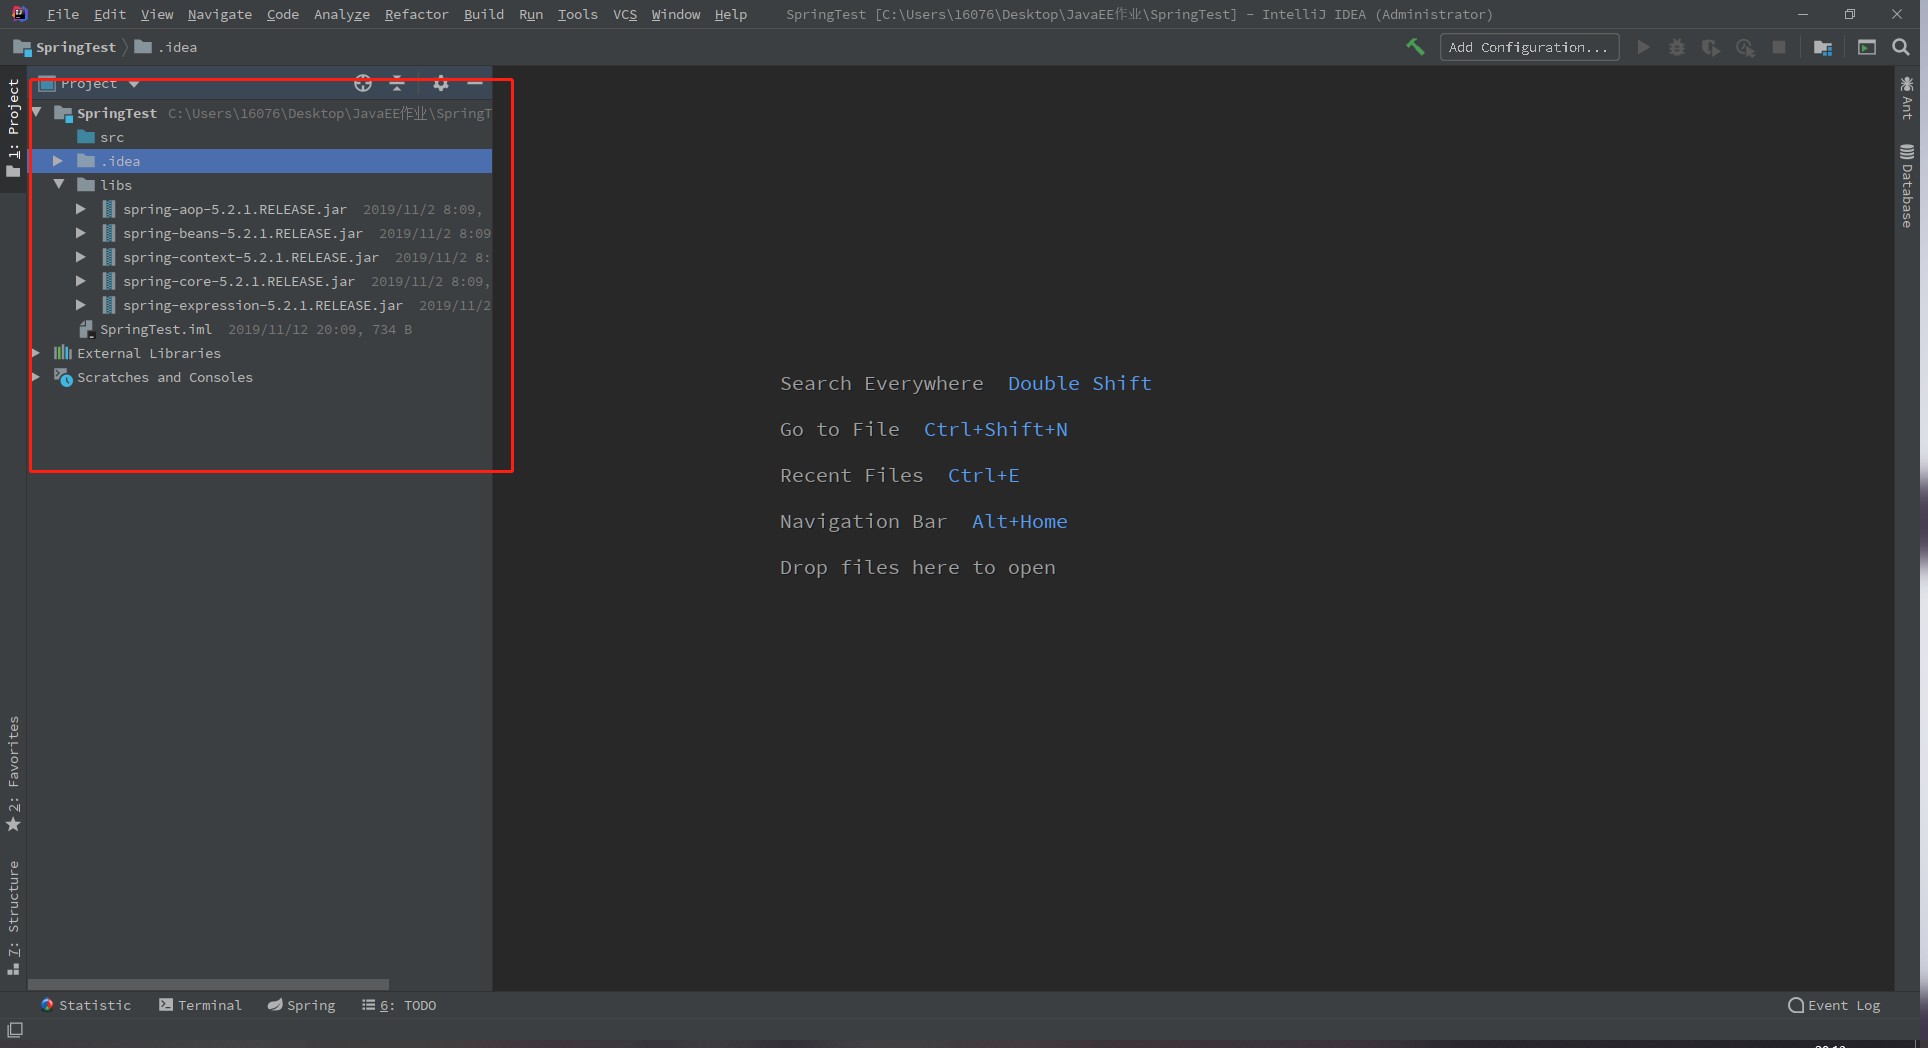
找到里面的libs的目录,里面有好多包,最小只要导入
spring-aop-5.2.1.RELEASE.jarspring-beans-5.2.1.RELEASE.jarspring-context-5.2.1.RELEASE.jarspring-core-5.2.1.RELEASE.jarspring-expression-5.2.1.RELEASE.jar
就可以愉快的使用Spring的IoC,DI了
到这里项目的结构如图所示
![]()
使用Spring
配置初始化
先在src下建个spring.xml的配置文件
1
2
3
4
5
6
7
8
| <?xml version="1.0" encoding="UTF-8" ?>
<beans xmlns="http://www.springframework.org/schema/beans"
xmlns:xsi="http://www.w3.org/2001/XMLSchema-instance"
xsi:schemaLocation="http://www.springframework.org/schema/beans
http://www.springframework.org/schema/beans/spring-beans.xsd">
</beans>
|
写个java类来测试下加载有没有问题
1
2
3
4
5
6
7
| public class SpringTest {
public static void main(String[] args) {
ClassPathXmlApplicationContext applicationContext = new ClassPathXmlApplicationContext("spring.xml");
}
}
|
运行之后会发现报错
java.lang.NoClassDefFoundError:org/apache/commons/logging/LogFactory
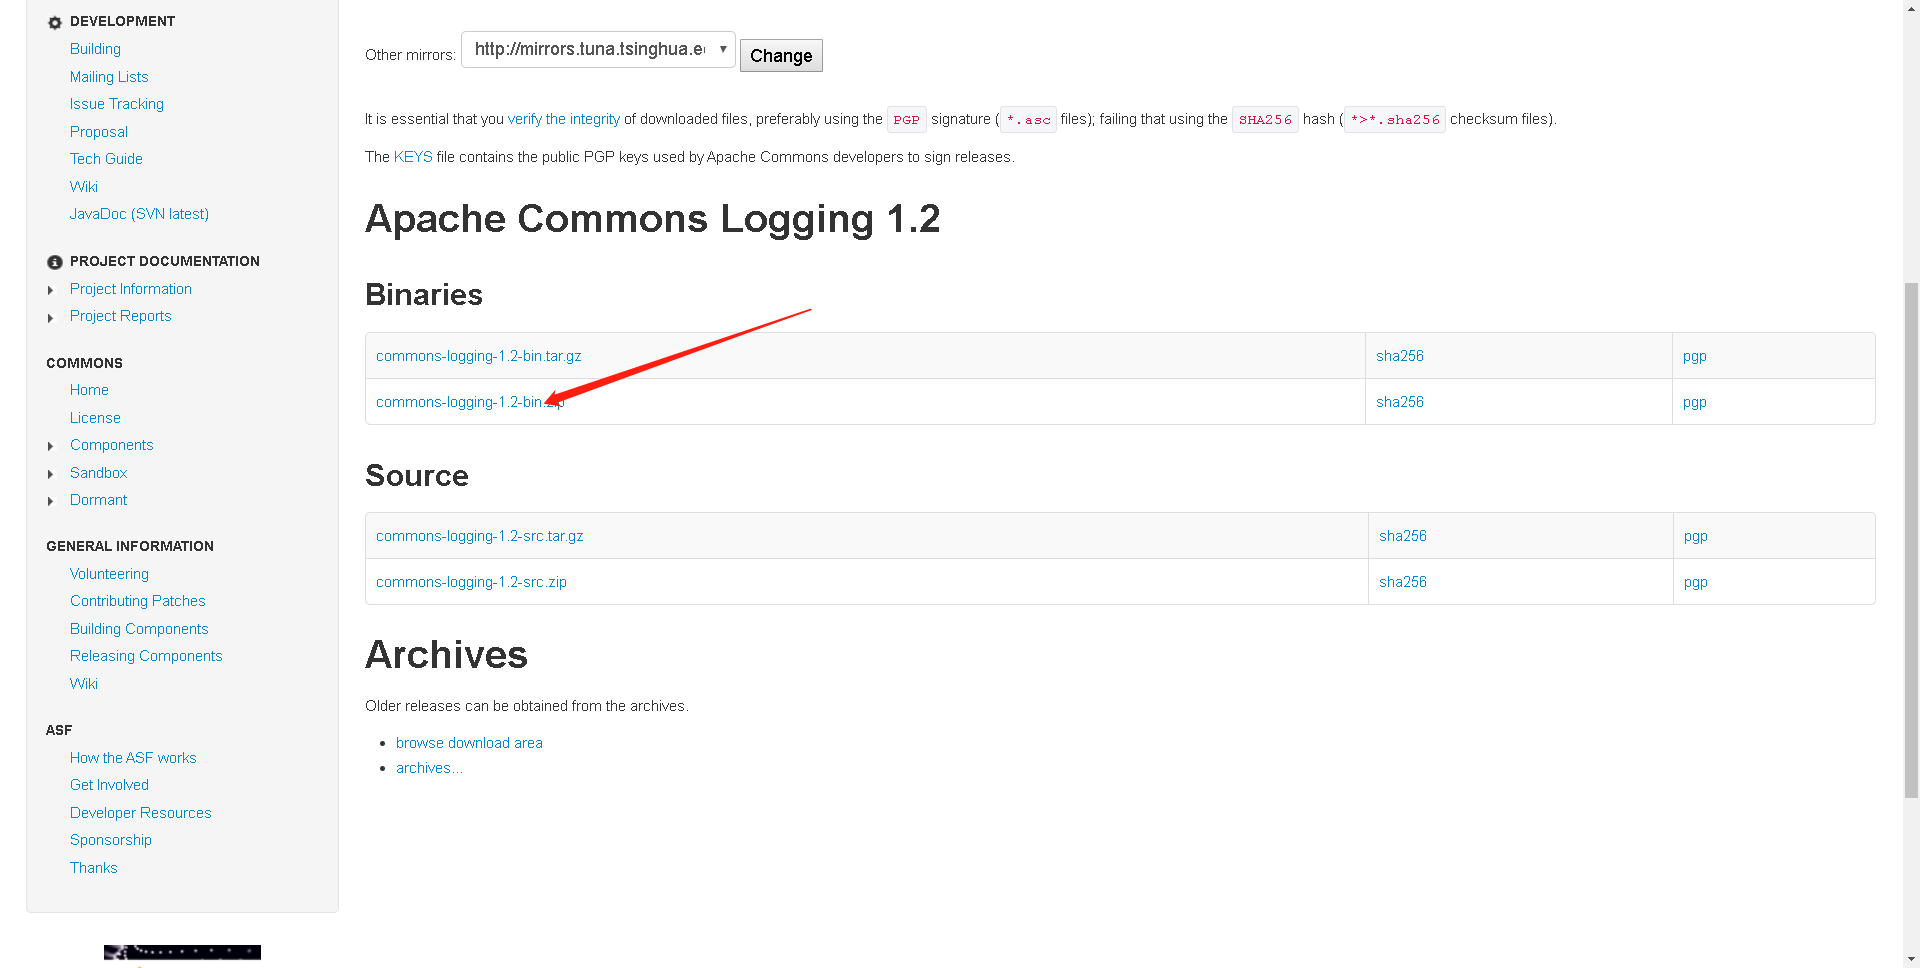
这是缺少apache的日志包
commons-logging 下载地址
![]()
下载完解压导入commons-logging-1.2.jar这个包就行了
再次启动就没有错误了
配置bean
我们在src下新建一个pojo包
在这个包里新建一个Person类
Person类
1
2
3
4
5
6
7
8
9
10
11
12
13
14
15
16
17
18
19
20
21
22
23
24
25
26
27
28
29
30
| package pojo;
public class Person {
private int id;
private String name;
public int getId() {
return id;
}
public void setId(int id) {
this.id = id;
}
public String getName() {
return name;
}
public void setName(String name) {
this.name = name;
}
@Override
public String toString() {
return "Person{" +
"id=" + id +
", name='" + name + '\'' +
'}';
}
}
|
配置文件新建bean
1
2
3
4
5
6
7
8
9
10
11
12
13
14
15
16
17
18
19
20
21
22
23
| <?xml version="1.0" encoding="UTF-8" ?>
<beans xmlns="http://www.springframework.org/schema/beans"
xmlns:xsi="http://www.w3.org/2001/XMLSchema-instance"
xsi:schemaLocation="http://www.springframework.org/schema/beans
http://www.springframework.org/schema/beans/spring-beans.xsd">
<bean id="person" class="pojo.Person">
<property name="id" value="1"></property>
<property name="name">
<value>lwf</value>
</property>
</bean>
</beans>
|
接着我们测试下能不能获取到这个bean
1
2
3
4
5
6
7
| public class SpringTest {
public static void main(String[] args) {
ClassPathXmlApplicationContext applicationContext = new ClassPathXmlApplicationContext("spring.xml");
Person person = applicationContext.getBean("person", Person.class);
System.out.println(person);
}
}
|
发现可以获取到bean
![]()
后记
bean的配置方式挺多的
之后再写一篇吧