前言
困了就数珈百璃
数到33就可以睡着
####准备
一个spring的Java项目
这个之前有写
有需要的可以自己翻阅
XML配置
有两种配置吧(我知道的)
先建两个类
User(用户)类和Role(角色)类
1
2
3
4
5
6
| public class User {
private int id;
private String name;
private List<Role> list;
}
|
1
2
3
4
5
| public class Role {
private int id;
private String name;
}
|
下面都会用这两个类作例子
setter注入方式
这里用Role类作例子
1
2
3
4
5
6
7
8
9
10
11
12
13
14
15
16
17
| <?xml version="1.0" encoding="UTF-8" ?>
<beans xmlns="http://www.springframework.org/schema/beans"
xmlns:xsi="http://www.w3.org/2001/XMLSchema-instance"
xsi:schemaLocation="http://www.springframework.org/schema/beans
http://www.springframework.org/schema/beans/spring-beans.xsd">
<bean id="role" class="pojo.Role">
<property name="id">
<value>1</value>
</property>
<property name="name" value="管理员"></property>
</bean>
</beans>
|
写个测试类测试下执行test01测试方法
1
2
3
4
5
6
7
8
9
10
| public class SpringBeanTest {
@Test
public void test01() {
ClassPathXmlApplicationContext applicationContext = new ClassPathXmlApplicationContext("spring.xml");
Role role = applicationContext.getBean("role", Role.class);
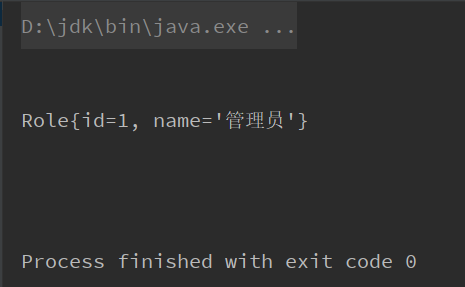
System.out.println(role);
applicationContext.close();
}
}
|
发现可以成功地注入属性
![]()
使用setter注入要注意
需要注入的属性必须有对应的setter方法
才能注入成功,不然会报错
构造器(constructor)注入方式
这里用User类作例子
构造器注入的话
必须有对应参数的构造函数
也就是User类必须做一点修改
1
2
3
4
5
6
7
8
9
10
11
12
13
14
| public class User {
private int id;
private String name;
private List<Role> list;
public User() {}
public User(int id, String name, List<Role> list) {
this.id = id;
this.name = name;
this.list = list;
}
}
|
1
2
3
4
5
6
7
8
9
10
11
12
13
14
15
16
17
18
19
20
21
22
23
24
25
26
27
28
29
| <?xml version="1.0" encoding="UTF-8" ?>
<beans xmlns="http://www.springframework.org/schema/beans"
xmlns:xsi="http://www.w3.org/2001/XMLSchema-instance"
xsi:schemaLocation="http://www.springframework.org/schema/beans
http://www.springframework.org/schema/beans/spring-beans.xsd">
<bean id="role" class="pojo.Role">
<property name="id">
<value>1</value>
</property>
<property name="name" value="管理员"></property>
</bean>
<bean id="user" class="pojo.User">
<constructor-arg value="1"></constructor-arg>
<constructor-arg>
<value>lwf</value>
</constructor-arg>
<constructor-arg>
<list>
<ref bean="role"></ref>
</list>
</constructor-arg>
</bean>
</beans>
|
测试一下,运行test02
1
2
3
4
5
6
7
8
9
10
| public class SpringBeanTest {
@Test
public void test02() {
ClassPathXmlApplicationContext applicationContext = new ClassPathXmlApplicationContext("spring.xml");
User user = applicationContext.getBean("user", User.class);
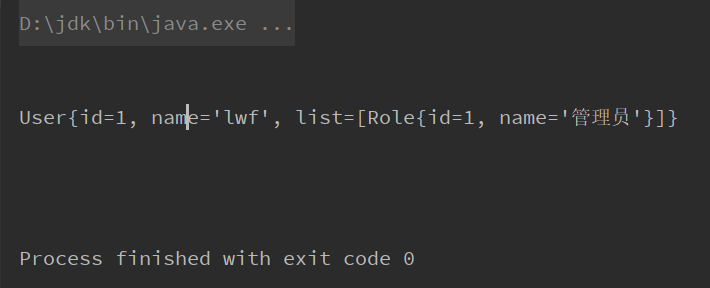
System.out.println(user);
applicationContext.close();
}
}
|
发现可以成功注入
![]()
使用构造器注入要注意
构造器参数的顺序必须和构造函数的传入参数的顺序一样
不然会报错
setter注入和构造器注入可以混合使用
但是构造器注入参数的顺序必须和构造函数的参数顺序保持一致
注解
使用注解方式也需要xml的文件
不过xml文件只需要简单的配置
表明开启注解方式来配置Bean
1
2
3
4
5
6
7
8
9
10
11
12
| <?xml version="1.0" encoding="UTF-8" ?>
<beans xmlns="http://www.springframework.org/schema/beans"
xmlns:xsi="http://www.w3.org/2001/XMLSchema-instance"
xmlns:context="http://www.springframework.org/schema/context"
xsi:schemaLocation="http://www.springframework.org/schema/beans
http://www.springframework.org/schema/beans/spring-beans.xsd
http://www.springframework.org/schema/context
http://www.springframework.org/schema/context/spring-context.xsd">
<context:component-scan base-package="pojo"/>
</beans>
|
然后就是通过注解方式来配置
这里用Role作例子
1
2
3
4
5
6
7
8
9
10
11
12
|
@Component(value = "role")
public class Role {
@Value("1")
private int id;
@Value("管理员")
private String name;
}
|
测试一下
1
2
3
4
5
6
7
8
9
| public class SpringBeanTest {
@Test
public void test03() {
ClassPathXmlApplicationContext applicationContext = new ClassPathXmlApplicationContext("spring.xml");
Role role = applicationContext.getBean("role", Role.class);
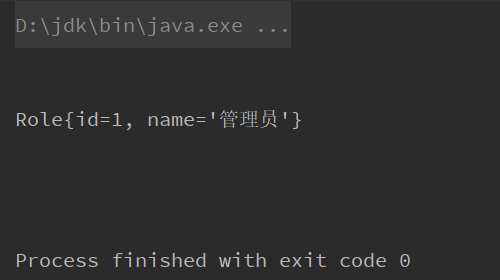
System.out.println(role);
applicationContext.close();
}
}
|
发现可以成功注入
![]()
再用User作例子
1
2
3
4
5
6
7
8
9
10
11
12
13
14
| @Component(value = "user")
public class User {
@Value("1")
private int id;
@Value("lwf")
private String name;
@Autowired
private List<Role> list;
}
|
测试下
1
2
3
4
5
6
7
8
9
| public class SpringBeanTest {
@Test
public void test04() {
ClassPathXmlApplicationContext applicationContext = new ClassPathXmlApplicationContext("spring.xml");
User user = applicationContext.getBean("user", User.class);
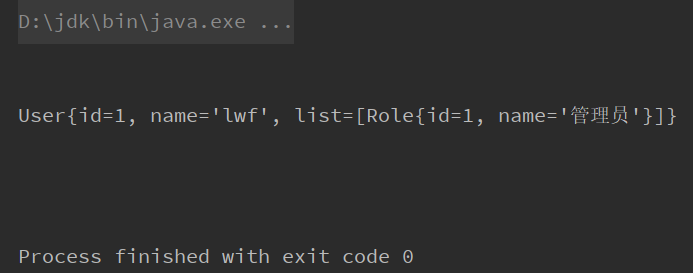
System.out.println(user);
applicationContext.close();
}
}
|
发现可以注入成功
![]()