轮播图的简单实现flex版。
轮播图,一般就是几张图依次的滑动到当前盒子的可视窗口中。
这里需要使用到overflow: hidden来隐藏溢出的盒子。
以及使用transform: translateX()来做盒子的移动。
先来写写HTML的部分,使用原生的js来完成。
1 2 3 4 5 6 7 8 <div class ="carousel" > <div class ="carousel__container" > </div > <div class ="carousel__trigger" > </div > </div >
写一些简单的样式来看看:
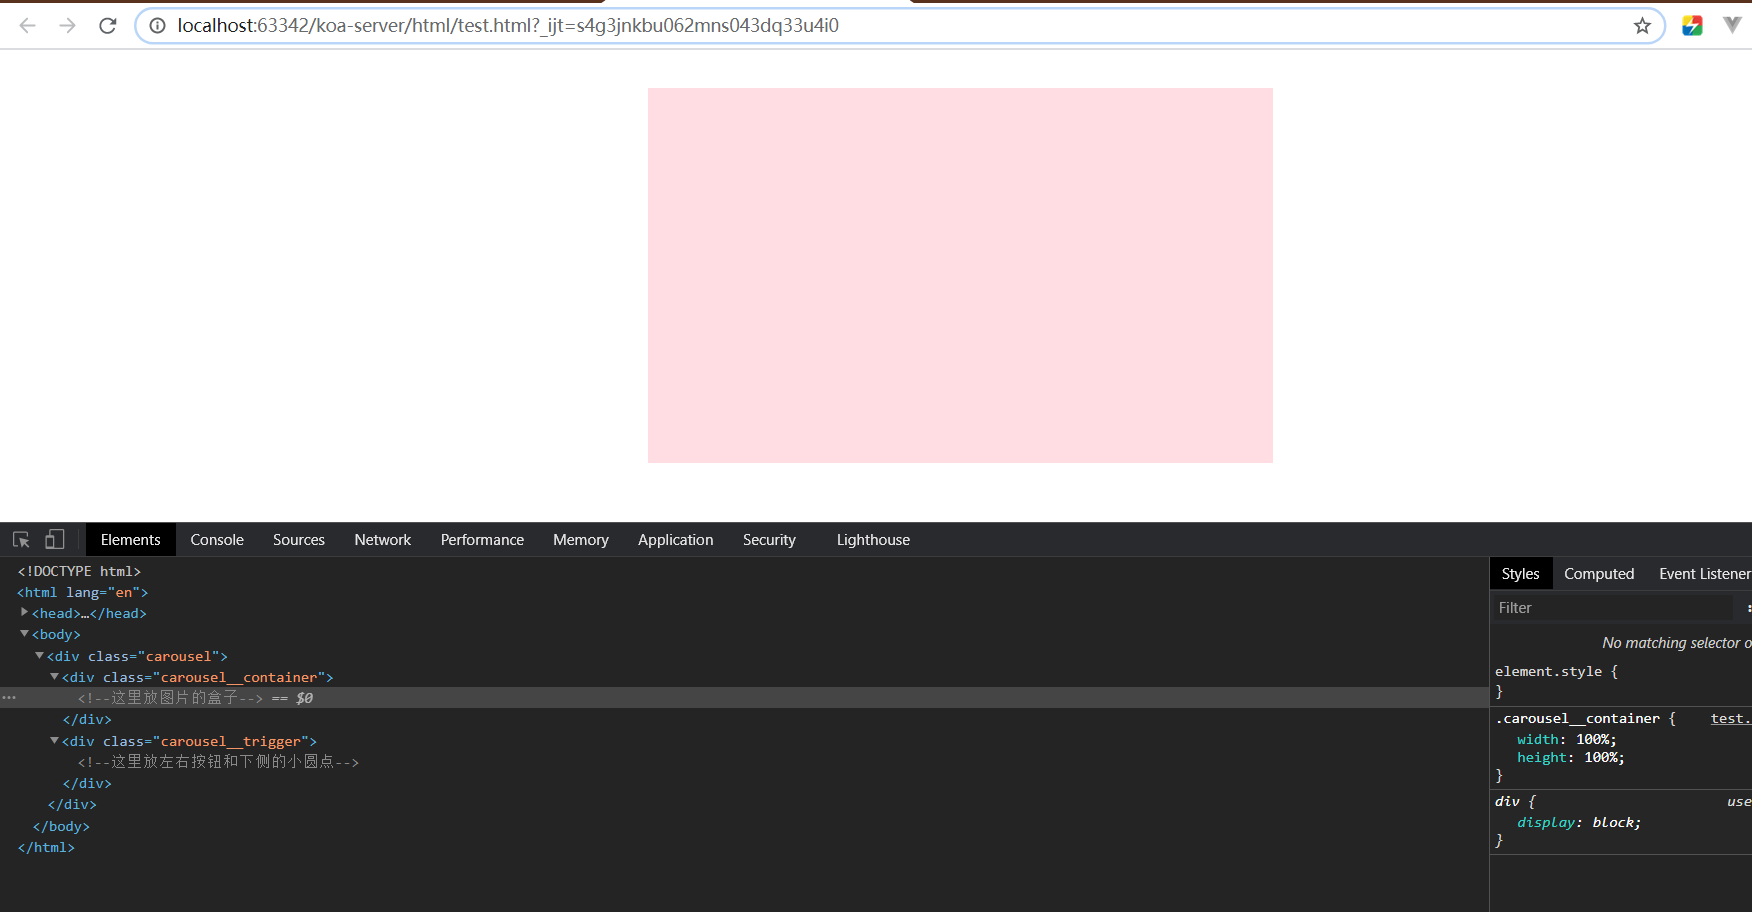
1
2
3
4
5
6
7
8
9
10
11
12
13
.carousel { position : relative; width : 500px ; height : 300px ; margin : 30px auto; background-color : pink; } .carousel__container { width : 100% ; height : 100% ; }
ok,现在我们可以在网页上看到一块粉色的画布了:
接着我们先不用img标签,先用不同背景色的div的盒子来填充div.carousel__container。
1 2 3 4 5 6 7 8 9 10 11 12 <div class ="carousel" > <div class ="carousel__container" > <div class ="carousel__item red" > </div > <div class ="carousel__item green" > </div > <div class ="carousel__item blue" > </div > <div class ="carousel__item orange" > </div > </div > <div class ="carousel__trigger" > </div > </div >
然后添加颜色的class类:
1
2
3
4
5
6
7
8
9
10
11
12
13
14
15
.red { background-color : darkred; } .orange { background-color : darkorange; } .green { background-color : darkgreen; } .blue { background-color : darkblue; }
发现怎么都没显示。
没错,盒子的div忘记设置高度了,给他补上。
1
2
3
.carousel__item { height : 100% ; }
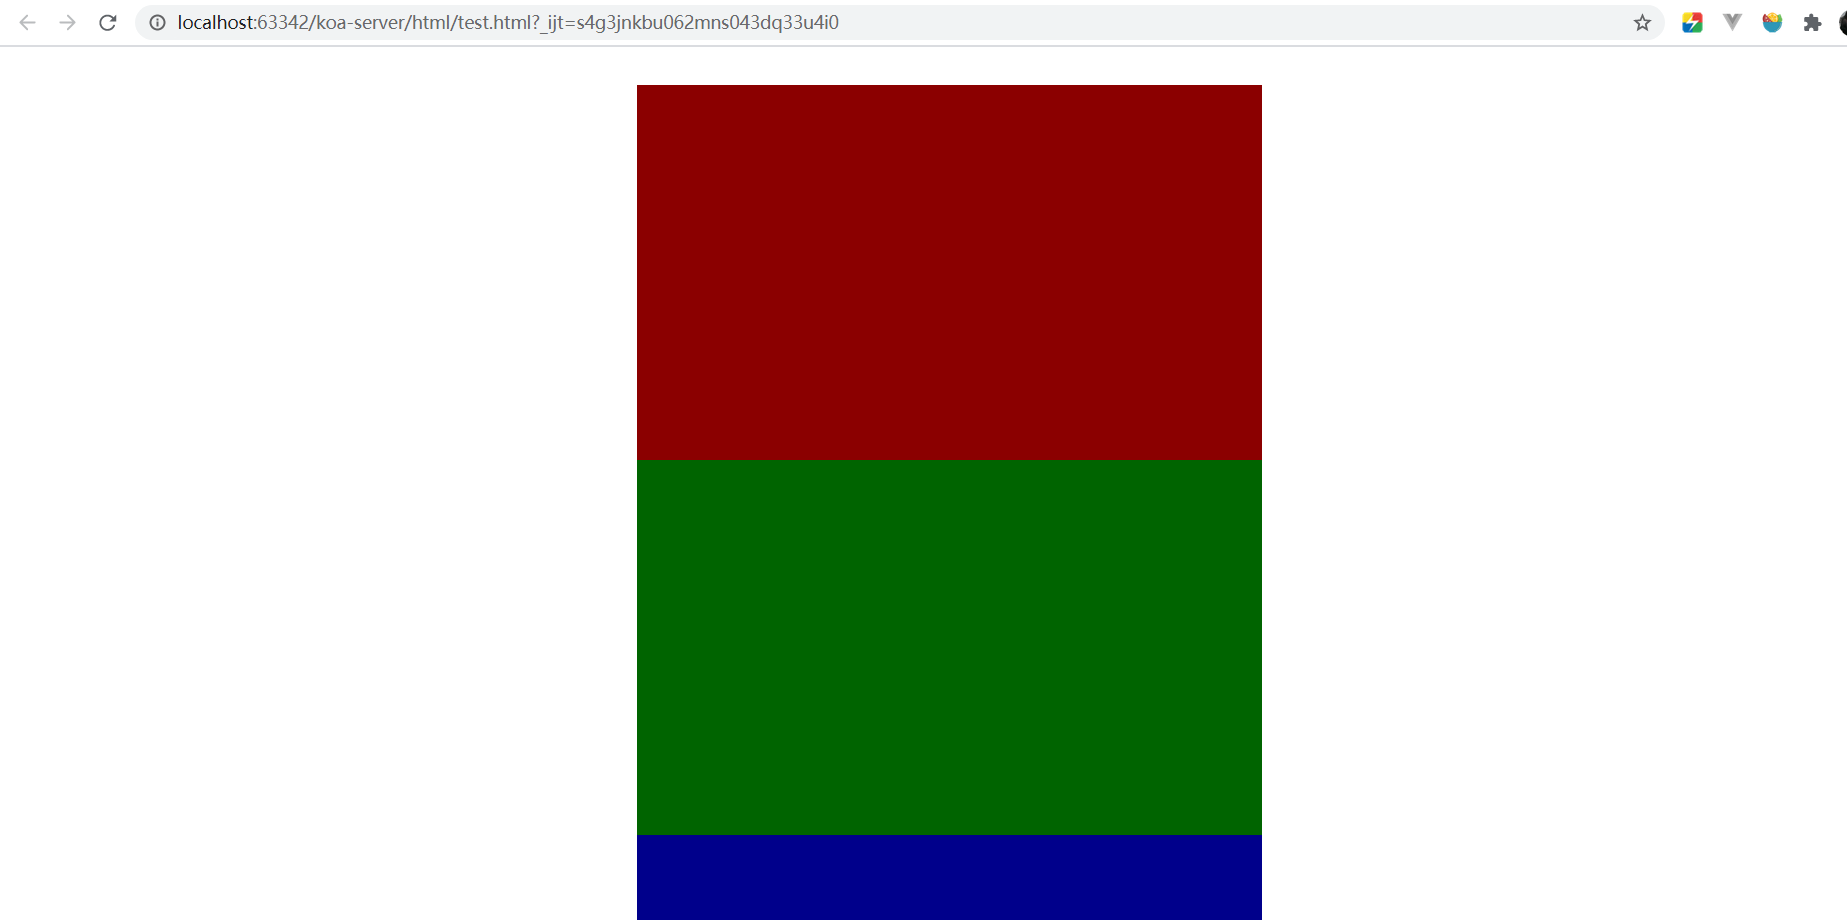
现在,高度也有了,但是 emmm,应该是横向摆放才对诶。
由于盒子是div,div默认display为block,块级元素自动占据一行,所以会从上往下排列。
为了使得从左向右排序,可以使用display: flex,然后设置flex-wrap: no-wrap,使得盒子即使在宽度不够的情况下不换行排放。
1
2
3
4
5
6
7
8
9
10
.carousel__container { width : 100% ; height : 100% ; display : flex; flex-wrap : nowrap; } .carousel__item { width : 100% ; }
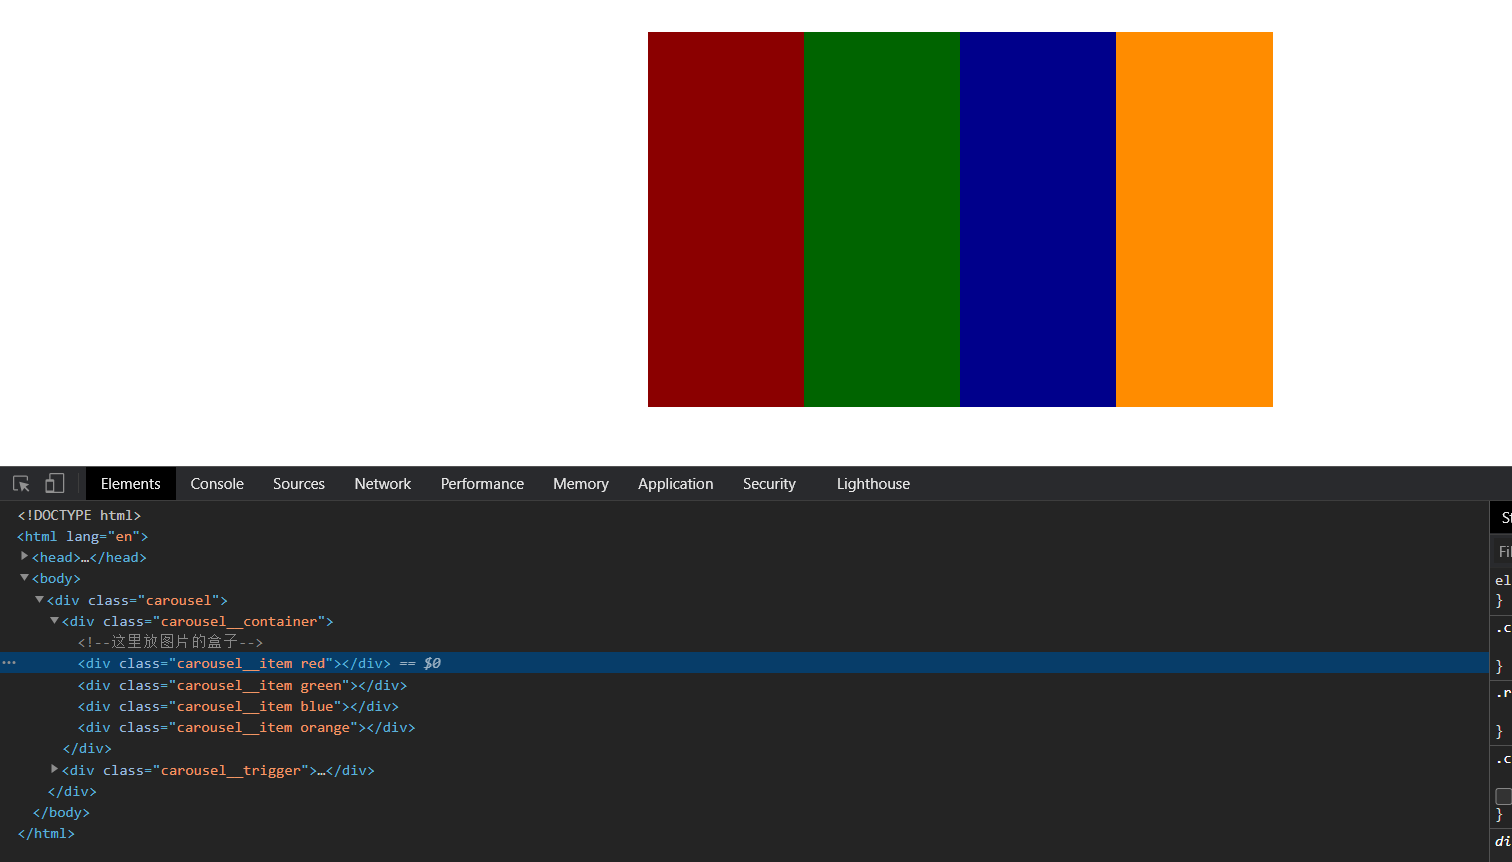
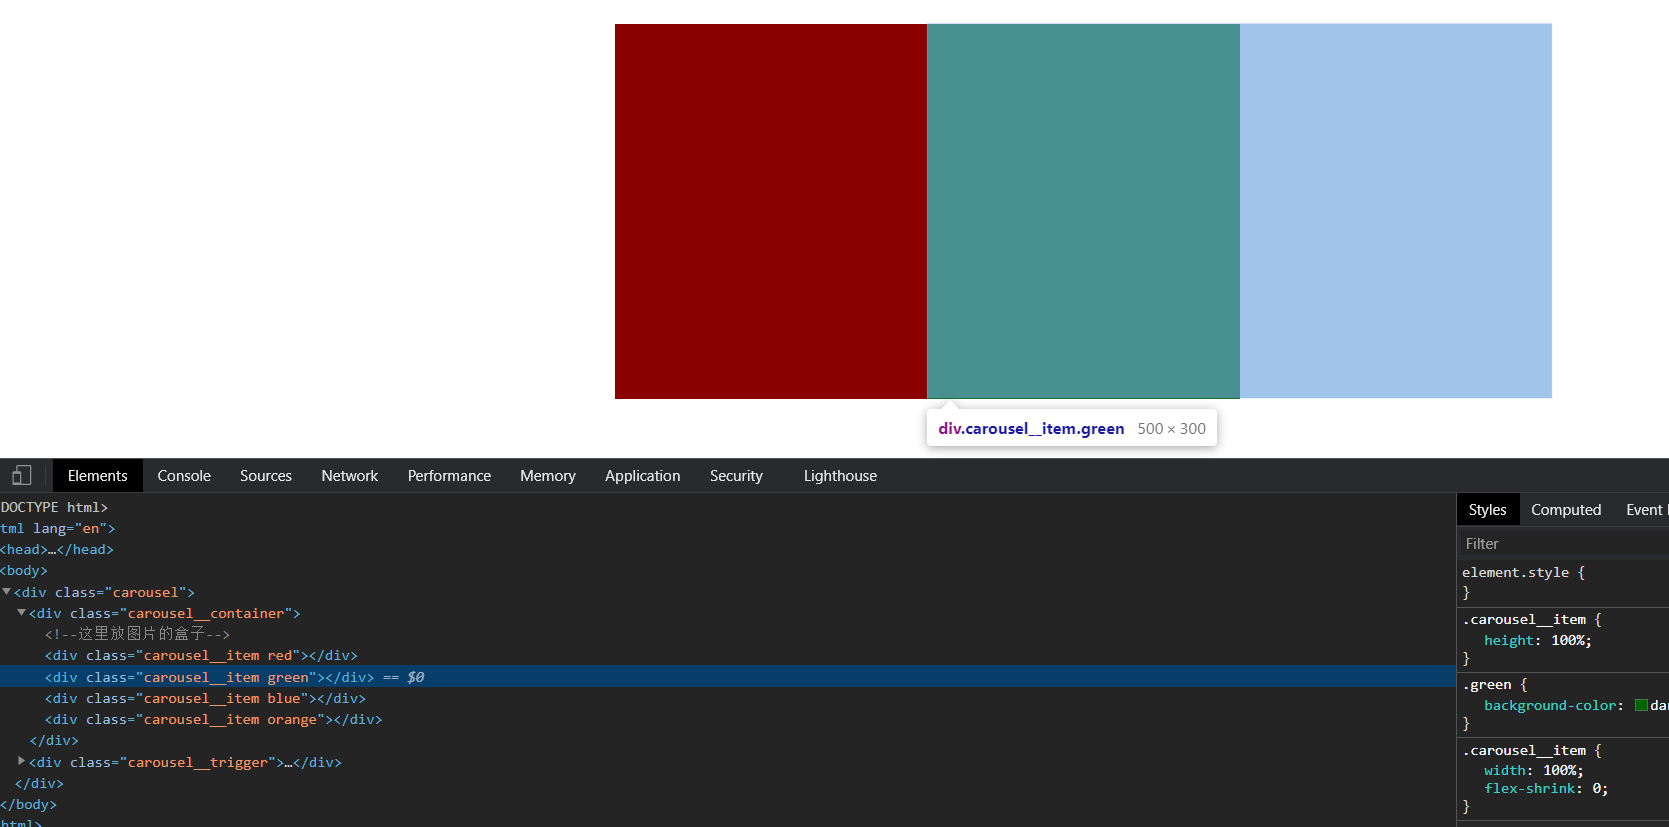
效果出来是出来了,但是四个盒子挤在父盒子里面了,我们希望挤出父盒子按一行排列。
这时候要在div.carousel__item设置flex-shrink缩放比例来让盒子不进行缩放,给它设置成0。
1
2
3
4
.carousel__item { width : 100% ; flex-shrink : 0 ; }
没问题,四个颜色盒子都是和最外面的大盒子的宽度一样,撑开了父盒子。
接下来,在最外面的盒子上添加overflow: hidden,使得溢出的部分消失。
1
2
3
4
5
.carousel { overflow : hidden; }
可以看到,在red后的green盒子已经被隐藏了。
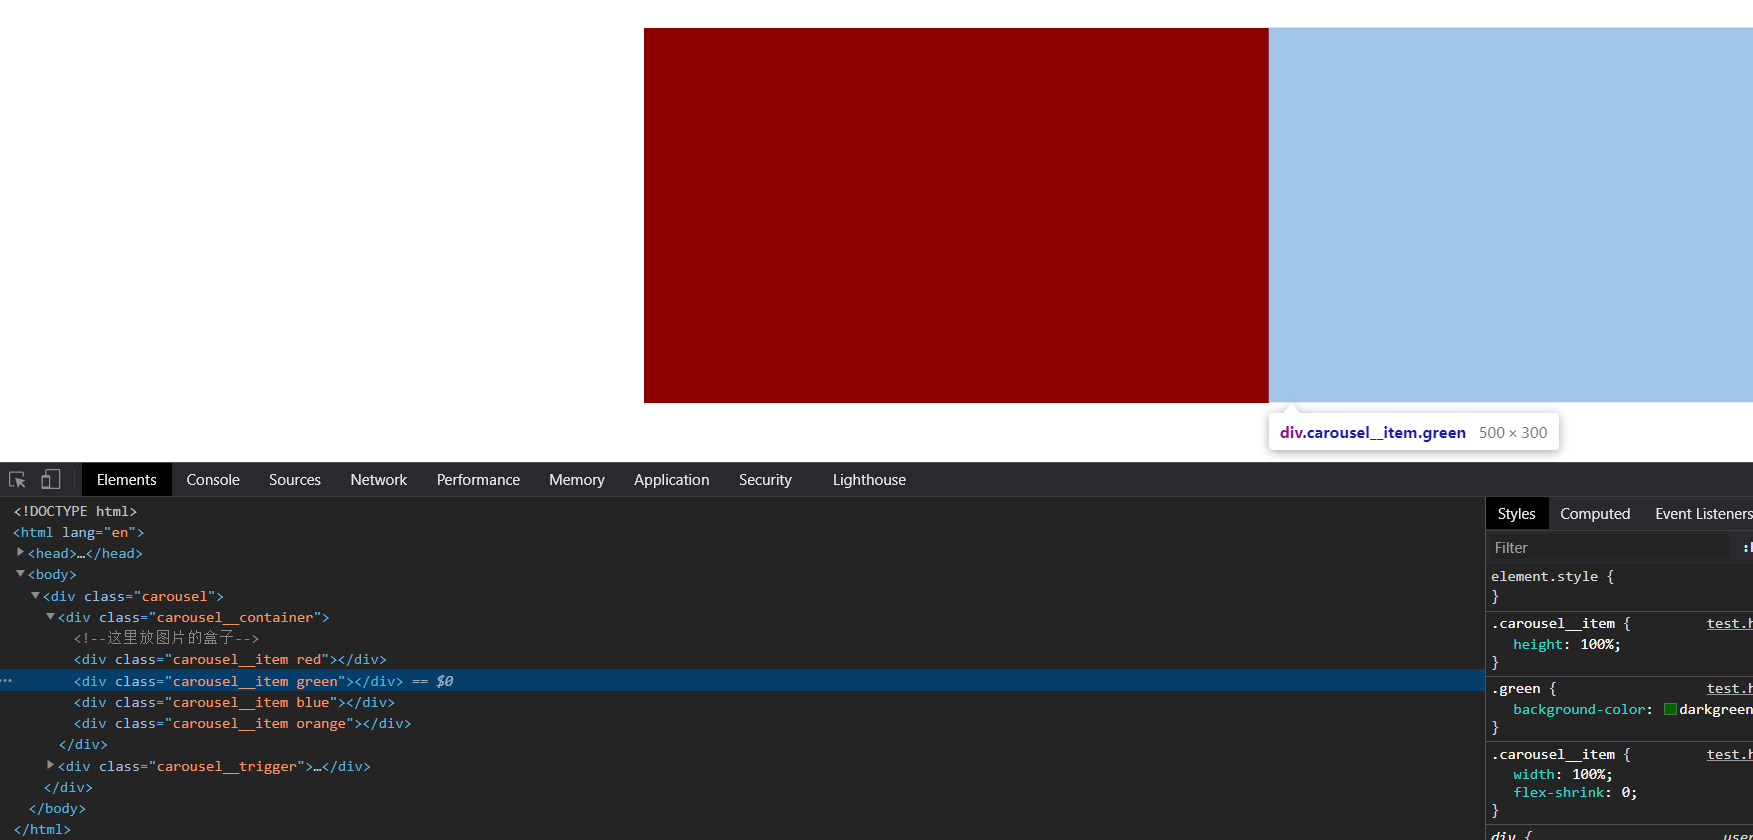
我们可以先写点transform样式看是否还存在盒子。
1
2
3
4
5
.carousel__container { transform : translate3d (-50% , 0 , 0 ); }
确实有一半的图片显示出来了,接下来无非就是使用js来控制div.carousel__container上transform: translate3d的第一个参数的值了。
ok,那先把js逻辑放一旁,先来设计左右两侧的按钮和下面的小点。
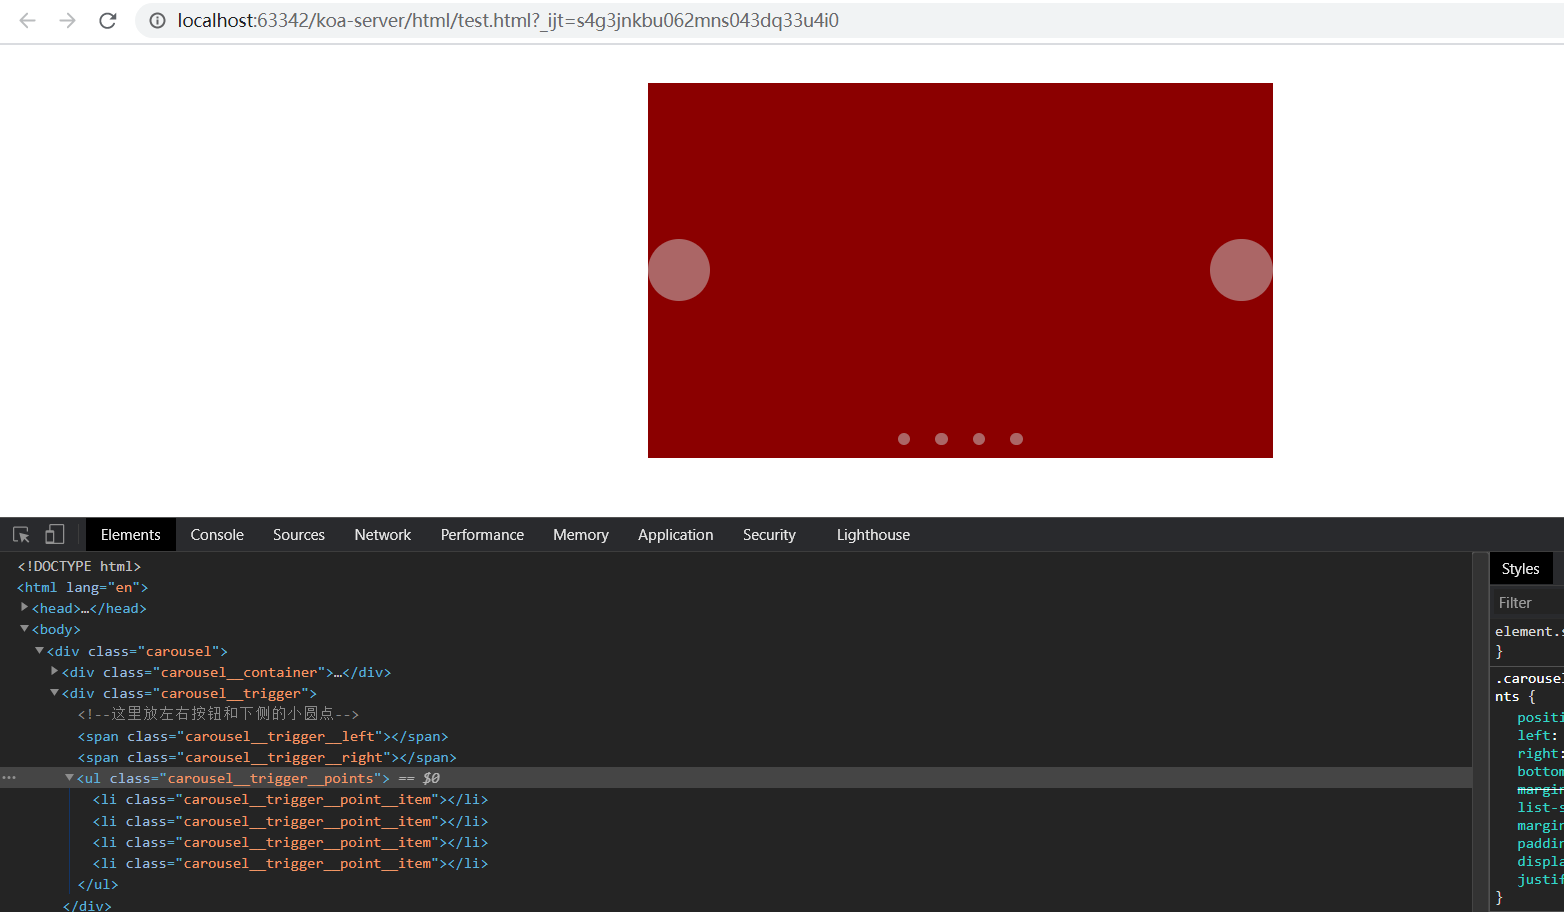
1 2 3 4 5 6 7 8 9 10 11 12 13 14 15 16 17 18 19 20 21 22 23 <div class ="carousel" > <div class ="carousel__container" > <div class ="carousel__item red" > </div > <div class ="carousel__item green" > </div > <div class ="carousel__item blue" > </div > <div class ="carousel__item orange" > </div > </div > <div class ="carousel__trigger" > <span class ="carousel__trigger__left" > </span > <span class ="carousel__trigger__right" > </span > <ul class ="carousel__trigger__points" > <li class ="carousel__trigger__point__item" > </li > <li class ="carousel__trigger__point__item" > </li > <li class ="carousel__trigger__point__item" > </li > <li class ="carousel__trigger__point__item" > </li > </ul > </div > </div >
注意,左右的按钮和下方的小点都是通过绝对定位来布局,所以div.carousel要加上position: relative。
再加上一些css
1
2
3
4
5
6
7
8
9
10
11
12
13
14
15
16
17
18
19
20
21
22
23
24
25
26
27
28
29
30
31
32
33
34
35
36
37
38
39
40
41
42
.carousel__trigger__left ,.carousel__trigger__right { position : absolute; bottom : 0 ; top : 0 ; margin : auto 0 ; display : inline-block; width : 50px ; height : 50px ; border-radius : 50% ; background-color : rgba (204 , 204 , 204 , 0.5 ); cursor : pointer; } .carousel__trigger__left { left : 0 ; } .carousel__trigger__right { right : 0 ; } .carousel__trigger__points { position : absolute; left : 0 ; right : 0 ; bottom : 10px ; margin : 0 auto; list-style : none; padding : 0 ; display : flex; justify-content : center; } .carousel__trigger__point__item { width : 10px ; height : 10px ; background-color : rgba (204 , 204 , 204 , 0.5 ); border-radius : 50% ; margin : 0 10px ; cursor : pointer; }
嗯,现在感觉有模有样了,当然,这里的样式可能有点丑,如果有按钮图标的话能好看很多。
当然好看不是重点。
接下来就可以编写js逻辑了。
首先我们先实现按钮点击事件切换图片。
1
2
3
4
5
6
7
8
9
10
11
12
13
14
15
16
17
18
19
const leftBtn = document .getElementsByClassName ('carousel__trigger__left' )[0 ]const rightBtn = document .getElementsByClassName ('carousel__trigger__right' )[0 ]const container = document .getElementsByClassName ('carousel__container' )[0 ]let curIndex = 0 const len = 4 leftBtn.addEventListener ('click' , () => { if (curIndex <= 0 ) { return } curIndex-- container.style .setProperty ('transform' , `translate3d(-${curIndex * 100 } %,0,0)` ) }) rightBtn.addEventListener ('click' , () => { if (curIndex >= len) { return } curIndex++ container.style .setProperty ('transform' , `translate3d(-${curIndex * 100 } %,0,0)` ) })
逻辑基本没啥问题,但是没有动画效果。
这是因为没有设置transition,可以在.carousel__container上设置。
1
2
3
4
5
.carousel__container { transition : transform 1s linear; }
现在就可以发现有动画效果了。
接下来就是给下面四个点设置点击事件。
1 2 3 4 5 6 7 8 const points = document .getElementsByClassName ('carousel__trigger__point__item' )for (let i = 0 ; i < points.length ; i++) { points[i].addEventListener ('click' , () => { curIndex = i container.style .setProperty ('transform' , `translate3d(-${curIndex * 100 } %,0,0)` ) }) }
四个点也可以点击然后切换到相应的图片了。
现在还有一个比较重要的功能,就是自动轮播,也就是在鼠标不在这个轮播图中的时候,它会自动的跳到下一张或者上一张。
1
2
3
4
5
6
7
8
9
10
11
12
13
14
15
16
17
18
19
20
21
22
23
24
let timerconst carousel = document .getElementsByClassName ('carousel' )[0 ]let dir = 1 carousel.addEventListener ('mouseenter' , () => { if (timer) { clearInterval (timer) } }) carousel.addEventListener ('mouseleave' , () => { timer = setInterval (() => { if (curIndex === 0 ) { dir = 1 } else if (curIndex === len - 1 ) { dir = -1 } if (dir === 1 ) { curIndex++ } else { curIndex-- } container.style .setProperty ('transform' , `translate3d(-${curIndex * 100 } %,0,0)` ) }, 2000 ) })
注意这里使用的是mouseenter和mouseleave事件,而不是mouseover和mouseout,这是因为前两个事件只会捕获而不会冒泡。
冒泡会导致重复的事件调用,在进入内层时又会冒泡使得外层的绑定函数再一次被调用。
发现鼠标划入和划出都符合预期的逻辑,但是有一个问题。
就是逻辑上来讲,在刚进入页面时要自动轮播的,但是这里的设置定时器是在mouseleave事件里面设置的,导致了刚打开页面不会自动轮播。
所以我们要在页面启动就设置一次定时器,代码可以改为:
1
2
3
4
5
6
7
8
9
10
11
12
13
14
15
16
17
18
19
20
21
22
23
24
25
26
27
28
29
30
31
let timerconst carousel = document .getElementsByClassName ('carousel' )[0 ]let dir = 1 carousel.addEventListener ('mouseenter' , () => { if (timer) { clearInterval (timer) timer = null } }) function timerCall ( if (curIndex === 0 ) { dir = 1 } else if (curIndex === len - 1 ) { dir = -1 } if (dir === 1 ) { curIndex++ } else { curIndex-- } container.style .setProperty ('transform' , `translate3d(-${curIndex * 100 } %,0,0)` ) } carousel.addEventListener ('mouseleave' , () => { if (timer) { return } setInterval (timerCall, 2000 ) }) timer = setInterval (timerCall, 2000 )
现在有点不完美的地方就是下面的小点应该在每一次的切换时有一个样式。
没关系,接下来我们开始来优化这个代码。
之前写的代码都是写死几个图片,这次使用类来写这个代码。
来写构造器,我们需要一个字符串的数组,表示图片的地址。
还需要一个容器来放我们的通过js拼接的html代码。
1 2 3 4 5 6 7 8 9 10 11 12 13 14 15 16 17 18 19 20 21 22 23 24 25 26 27 28 29 30 31 32 33 34 35 36 37 38 39 40 41 42 43 class Carousel { imgUrlArray mountNode __root __render __timer __curIndex __ms __triggerLeftBtnElement __triggerRightBtnElement __triggerPointElements __imgElements __imgContainer constructor (imgUrlArray, config ) { if (!Array .isArray (imgUrlArray)) { console .warn ("argument 'imgUrl' must be an Array" ) imgUrlArray = [] } this .imgUrlArray = imgUrlArray.slice () const { mountNode, ms = 2000 , render = (v ) => v, } = config if (!mountNode) { throw new Error ("argument 'root' in config must be exist" ) } this .mountNode = mountNode this .__render = render this .__curIndex = 0 this .__ms = ms this .__dir = 1 this .createRoot () } }
通过之前的代码可以发现每次我们改变curIndex时,就需要去改变相应的样式,所以可以先把样式的变化抽成一个函数
1 2 3 4 5 6 7 8 9 10 11 12 13 14 15 16 17 18 19 20 21 22 23 24 25 26 27 28 29 30 31 32 33 34 class Carousel { callWithStyleUpdate ( fn = noop, callbacks = { before: this .clearStyle, after: this .setStyle, }, ) { const { before, after } = callbacks before.call (this , this .__curIndex ) fn () after.call (this , this .__curIndex ) } clearStyle (curIndex ) { const { __triggerPointElements } = this __triggerPointElements[curIndex].classList .remove ('active' ) } setStyle (curIndex ) { const { __triggerPointElements, __imgContainer } = this __imgContainer.style .setProperty ('transform' , `translate3d(-${curIndex * 100 } %,0,0)` ) __triggerPointElements[curIndex].classList .add ('active' ) } }
修改样式其实很多地方的逻辑都是一样的,没有必要在每个地方都写一样的代码,所以我个人把它抽成一个类似回调的调用。
这样如果以后新增了样式,那么只需要在clearStyle或者setStyle里面进行修改即可,有点装饰器模式的味道。
1 2 3 4 5 6 7 8 9 10 11 12 13 14 15 16 17 18 19 20 21 22 23 24 25 26 27 28 29 30 31 32 33 34 35 36 37 38 39 40 41 42 43 44 45 46 47 48 49 50 51 52 53 54 55 56 class Carousel { createRoot ( function setClass (node, classList ) { if (!Array .isArray (classList)) { classList = [classList] } classList.forEach ((className ) => { node.classList .add (className) }) } function createElement (tag, classList ) { const ele = document .createElement (tag) setClass (ele, classList) return ele } this .__root = createElement ('div' , 'carousel' ) const { __root : root, imgUrlArray } = this const container = createElement ('div' , 'carousel__container' ) const triggers = createElement ('div' , 'carousel__trigger' ) const triggerLeft = createElement ('div' , 'carousel__trigger__left' ) const triggerRight = createElement ('div' , 'carousel__trigger__right' ) const triggerPointContainer = createElement ('ul' , 'carousel__trigger__points' ) for (let i = 0 ; i < imgUrlArray.length ; i++) { const div = createElement ('div' , 'carousel__item' ) const content = this .__render (imgUrlArray[i], i) div.innerHTML = content container.append (div) triggerPointContainer.append (createElement ('li' , 'carousel__trigger__point__item' )) } triggers.append (triggerLeft) triggers.append (triggerRight) triggers.append (triggerPointContainer) root.append (container) root.append (triggers) this .__triggerPointElements = triggerPointContainer.children this .__imgContainer = container this .__imgElements = container.children this .__triggerLeftBtnElement = triggerLeft this .__triggerRightBtnElement = triggerRight } }
createRoot逻辑单一,就是创建整个轮播图的dom结构。
1 2 3 4 5 6 7 8 9 10 11 12 13 14 15 16 17 18 19 20 21 22 23 24 25 26 27 28 29 30 31 class Carousel { bindTriggerEvent ( const { __triggerLeftBtnElement, __triggerRightBtnElement, __triggerPointElements } = this __triggerLeftBtnElement.addEventListener ('click' , () => { if (this .__curIndex === 0 ) { return } this .callWithStyleUpdate (() => { this .__curIndex -- }) }) __triggerRightBtnElement.addEventListener ('click' , () => { if (this .__curIndex === this .imgUrlArray .length - 1 ) { return } this .callWithStyleUpdate (() => { this .__curIndex ++ }) }) for (let i = 0 ; i < __triggerPointElements.length ; i++) { __triggerPointElements[i].addEventListener ('click' , () => { this .callWithStyleUpdate (() => { this .__curIndex = i }) }) } } }
bindTriggerEvent用于绑定左右按钮和小点的事件,使得我们可以通过点击这些节点来切换到对应的轮播页。
1 2 3 4 5 6 7 8 9 10 11 12 13 14 15 16 17 18 19 20 21 22 23 24 25 26 27 28 29 30 31 32 33 34 35 36 37 class Carousel { timerHandler ( this .callWithStyleUpdate (() => { if (this .__curIndex === 0 ) { this .__dir = 1 } else if (this .__curIndex === this .imgUrlArray .length - 1 ) { this .__dir = -1 } this .__curIndex += this .__dir }) } clearTimer ( if (this .__timer ) { clearInterval (this .__timer ) this .__timer = null } } startTimer ( if (this .imgUrlArray .length > 1 ) { this .__root .addEventListener ('mouseenter' , this .clearTimer .bind (this )) this .__root .addEventListener ('mouseleave' , () => { this .clearTimer () this .__timer = setInterval (this .timerHandler .bind (this ), this .__ms ) }) this .__timer = setInterval (this .timerHandler .bind (this ), this .__ms ) } } }
这三个函数构成了定时器的逻辑。
1
2
3
4
5
6
7
8
9
10
11
12
13
14
15
16
17
class Carousel { mount ( this .mountNode .append (this .__root ) this .bindTriggerEvent () this .startTimer () this .callWithStyleUpdate () } destroy ( this .clearTimer () } }
基本上轮播图类就完成了,可以试下效果。
1 2 3 4 5 6 7 8 9 10 11 12 const carousel = new Carousel (['A' , 'B' , 'C' ], { mountNode : document .querySelector ('#app' ), render : (item, index ) => { return ` <div style="height: 100%;display: flex;align-items: center;justify-content: center;font-size: 20px"> ${item} </div> ` }, }) carousel.mount ()
虽然完成了,但是还有很多可以优化的地方,比如这里的销毁只是把定时器给消除了。
但是对于单页面组件来说,通过addEventListener监听的函数也必须删除,所以监听的函数必须在destroy中使用removeEventListener解除。
由于篇幅的限制,本篇主要讲述我个人的轮播图的实现思路。
当然,使用整个盒子移动的实现可能不是特别的常见,我看很多的轮播图都是基于绝对定位来进行动画的切换,下篇可能会写写思路。
所以,当作一个小demo也未尝不可,自己实际写写也有助于理解嘛。